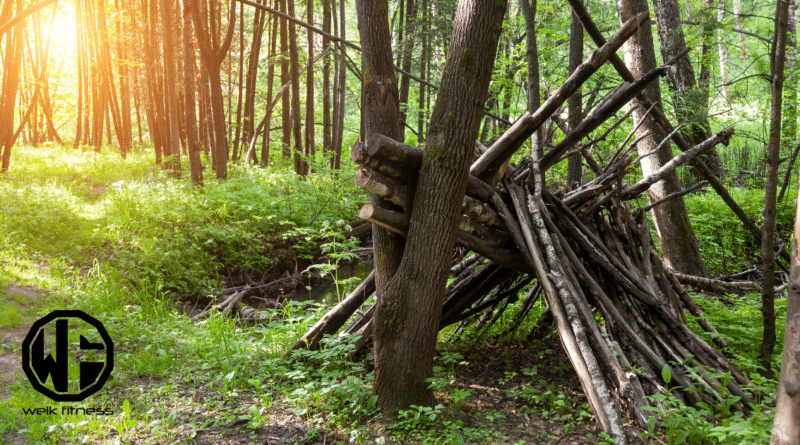
How-To Guide On Mastering Survival Shelter Building
When you’re caught in harsh weather, knowing how to build a survival shelter can save your life. After spending countless nights testing shelters in rain, snow, and wind, we’ve learned what works best.
Think of your survival shelter as a cozy home away from home. Our guide shows you 8 field-tested shelter designs that keep you warm and dry. You’ll learn simple steps to build each one using basic tools you can find or carry.
Once you master these survival shelter skills, you’ll feel more confident facing any outdoor emergency.
Table of contents
- Survival Shelter Key Takeaways
- Choosing the Right Location for Your Survival Shelter
- Understanding Different Survival Shelter Types
- Gathering Survival Shelter Materials
- Survival Shelter Building Techniques
- Key Survival Shelter Features
- Advanced Wilderness Survival Shelter Types
- Survival Shelter Maintenance
- Practical Tips and Tricks for Survival Shelter Building
- A Survival Shelter Without Proper Knowledge and Skill Can Be Deadly
Survival Shelter Key Takeaways
- A good survival shelter needs to be within 100 yards of water but 200 feet away from water edges to stay safe from floods while having easy access to drinking water.
- Basic survival shelters like lean-tos fit 2-3 people and take just 30 minutes to build, while snow caves can keep you warm at 60°F inside even when it’s -6°F outside.
- Pack an 8-by-10 foot tarp for two people or 6-by-8 foot tarp for one person, plus 50 feet of rope and 4-6 stakes to build a quick shelter in any weather.
- Build shelter walls 12 inches thick for snow shelters, check them every 2-3 days, and make air holes 6 inches wide for good airflow when using fire inside.
- Three key knots for shelter building are the Bowline, Double Sheet Bend, and Halter Hitch — these keep your survival shelter strong in harsh weather.
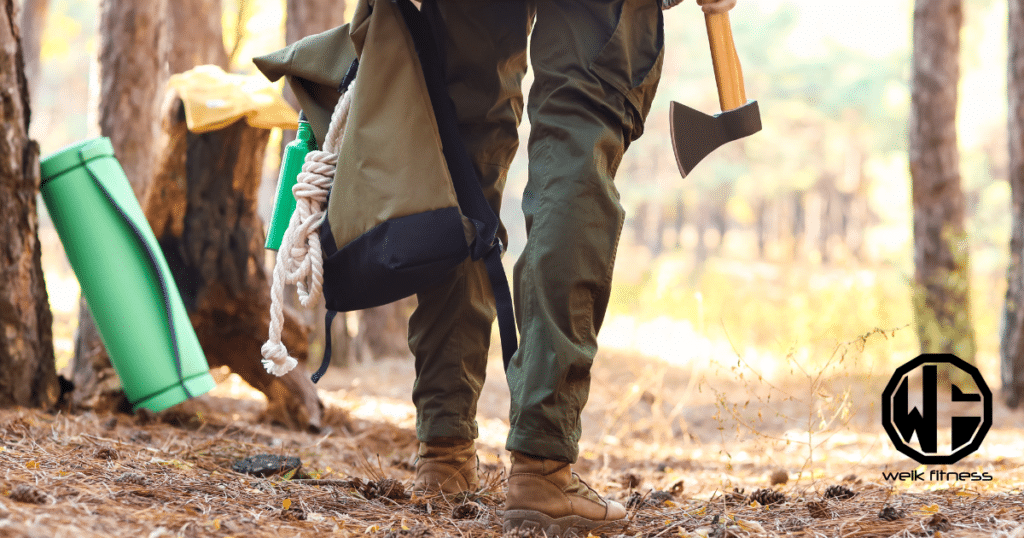
Choosing the Right Location for Your Survival Shelter
The right spot for your shelter can save your life in the wild. Your survival shelter needs to be near water but safe from floods, falling trees, and wild animals. Being able to build shelter is one of the survival skills you absolutely need to know.
1. Consider proximity to water sources
We need to build our survival shelter within 100 yards of a clean water source. Safe drinking water keeps us alive in tough spots. Our shelter must sit on high ground at least 200 feet away from water edges to avoid flash floods.
A good spot near fresh water lets us save energy on water runs. We pick spots near streams, springs, or rivers that flow year-round. Smart placement means less work hauling water back to camp while staying dry during storms.
2. Assess exposure to wind and potential hazards
Strong winds pose major risks to survival shelters. Our shelter location must block harsh winds and stay away from dead trees that could fall. Smart placement helps us dodge falling branches and keeps our shelter safe from storms.
Building on hilltops leaves us open to dangerous gusts, while valleys trap cold air that drops body heat fast.
Our shelter spot needs protection from natural threats like flash floods, rock slides, and animal paths. Pine boughs and thick vegetation make great windbreaks for our shelter walls.
The right spot puts solid barriers between us and the wind while keeping us close to good building materials. A low-to-the-ground shelter design cuts wind exposure and helps hold in vital body heat.
3. Evaluate access to building materials
We need easy access to building materials within 50 feet of our shelter site. Our survival kit must include basic tools like a knife and cordage (like 550 cord) to gather natural resources fast. Pine needles, leaves, and fallen branches make great building materials for our shelter walls.
Building materials near water sources often stay wet and rot quickly. We pick spots with plenty of dead wood, long grass, and large leaves nearby. A good shelter site needs 3-4 fallen trees or sturdy branches for the main frame.
The high ground gives us better options for gathering dry materials to build a waterproof roof over our heads.
Understanding Different Survival Shelter Types
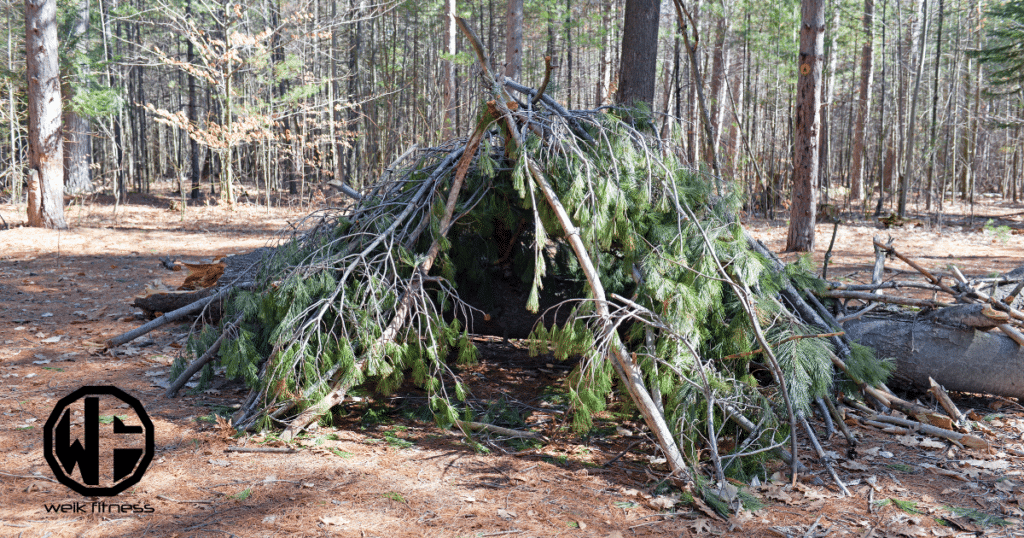
The type of shelter you need is dependent on your environment and how you should make your shelter. Survival shelters come in many shapes and sizes to match your needs in the wild. We’ll show you four basic shelter types that work great in tough spots — from simple lean-tos using a tarp to snug debris huts packed with leaves for warmth.
1. Natural Shelters
Natural caves and uprooted tree holes offer ready-made shelter options in the wild. These spots give us quick protection from harsh weather without needing extra tools or materials.
Caves shield us from wind and rain, while fallen trees create natural lean-tos perfect for short-term stays.
Conifer trees serve as excellent natural shelters in wet conditions. Their thick branches and dense needles block rain and snow, creating a dry space beneath. We can enhance these spots by adding simple insulation from pine needles or leaves for better warmth and comfort.
2. Lean-To
A lean-to shelter offers quick protection in survival situations. We build this basic structure using three main parts: a ridge pole and two support poles. The ridge pole needs to slope down at a 45-degree angle from a tree or post.
Our team covers the frame with a tarp or poncho to block wind and rain. This shelter takes just 30 minutes to build with basic tools.
We’ve found lean-to shelters work best with the back facing the wind. The front stays open for easy access and fire placement. A standard lean-to fits 2-3 people and needs 6 feet of space between supports.
We secure all parts with rope or natural cordage to keep the shelter stable in rough weather. The sloped design lets rain run off while keeping the inside dry.
3. A-Frame
The A-frame shelter stands out as our top pick for quick wilderness protection. We built this shelter using three long poles tied at the top to form a triangle shape. Our team covers the sides with branches, debris, tarps, or plastic sheets to block wind and rain.
This shelter fits 2-3 people and takes just 30 minutes to build with basic materials. We place thick leaves or pine needles on the ground inside for comfort. The steep sides of our A-frame let rain and snow slide off easily while keeping the inside dry and cozy.
4. Debris Hut
A debris hut stands as our top pick for survival shelters in cold weather. We build this shelter using fallen branches as a strong frame, then pile 2 feet of dry leaves on top for warmth.

Our tests show it works great in temps down to 10°F with proper insulation.
We start by making an A-shaped frame with a ridge pole and smaller sticks against it. Next, we layer leaves, pine needles, and grass to create a thick, warm cover. Inside the shelter, we make sure to get off the ground by creating a soft bed of dry materials.
This simple shelter keeps us safe from rain and wind while holding in our body heat.
5. Snow Cave
Snow caves offer us life-saving shelter in cold places. We dig these caves into deep snow banks to create a warm space inside. Our team has built many snow caves that keep us at 60°F while outside temps drop to -6°F.
The snow must be at least 4 inches thick to make a safe cave.
We shape our snow caves with three key parts — a small entrance tunnel, a sleeping platform, and a cold air trap below. This design traps body heat up top where we sleep. Our survival gear and emergency blankets add extra warmth inside these natural shelters.
The packed snow walls block harsh winds and keep us dry in wet weather.
Gathering Survival Shelter Materials
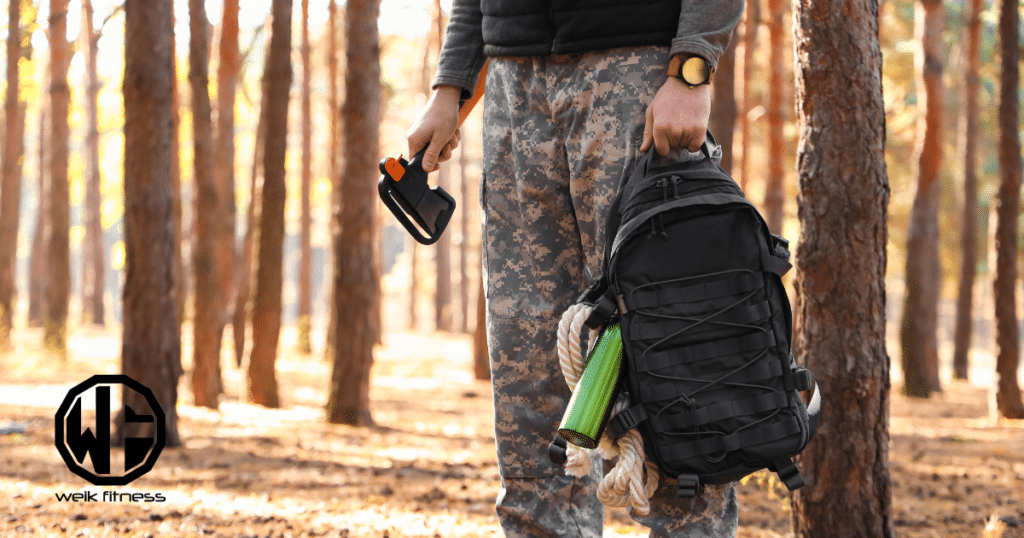
You’ll need basic items from nature and your backpack to build a safe shelter. We suggest you start with a quick scan of your surroundings to spot useful materials before you begin building.
1. Natural materials: wood, leaves, and grass
We need strong wood pieces to build our shelter frame. Dead branches work best for support beams and cross-pieces. Fresh pine boughs make great roof materials. Dry leaves and grass create thick layers of insulation for walls and floors.
These natural items block wind and trap body heat inside our shelter.
Our best shelter spots have lots of building materials close by. We grab straight sticks at least 2 inches thick for main posts. Small twigs and branches fill gaps between bigger pieces.
Dead leaves pack well between logs to stop drafts. Soft grass makes good bedding to keep us off the cold ground. Nature gives us free building supplies right where we need them.
2. Man-made materials: tarps, ropes, and emergency blankets
Our survival shelter kits must include tarps in specific sizes — 8-by-10 feet fits two people, while 6-by-8 feet works for one person. Strong ropes make up a vital part of shelter building, so pack 50 feet of lightweight cord and 4-6 ultralight stakes for secure anchoring.
Emergency blankets offer quick protection from the elements and trap body heat inside the shelter. These items create a fast, reliable shelter in any survival situation.
Modern materials give us an edge in wilderness survival. Tarps (or something like a small survival tent) shield us from rain and snow, while paracord helps lash poles and secure guy lines. A space blanket reflects 90% of our body heat back to us, making cold nights more bearable.
Each item serves multiple uses in shelter building and takes up little space in our packs.
Survival Shelter Building Techniques
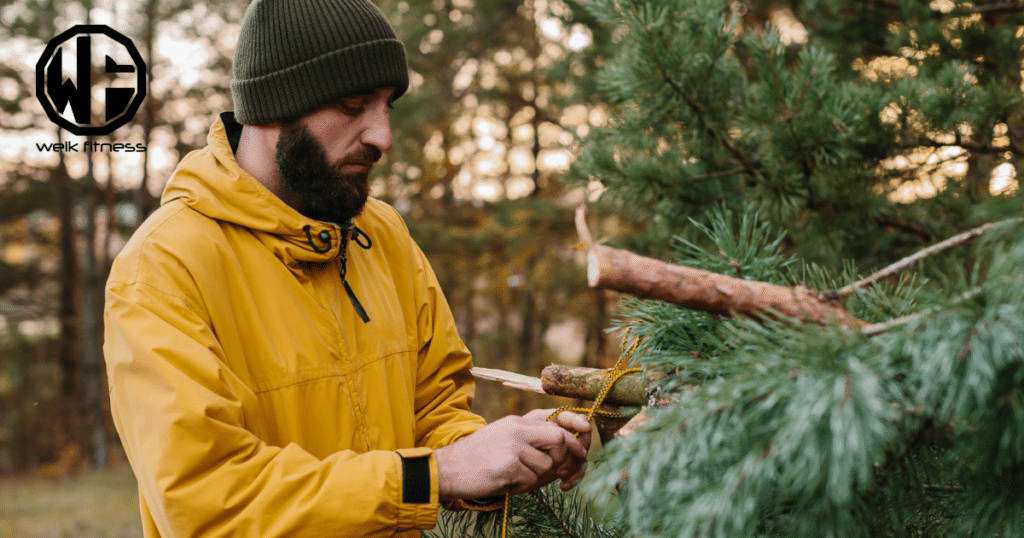
Building a shelter starts with laying down strong support beams and securing them with natural cordage or paracord. We teach you the exact steps to create a solid frame that will keep you safe from rain, wind, and harsh weather.
1. Constructing a foundation
A solid foundation keeps us safe and dry in any survival shelter. We need to clear a 6×8 foot space of rocks, sticks, and sharp objects. Our best choice sits on high ground to stop water from pooling under us during rain.
We place thick branches or logs side by side to create a raised platform 4-6 inches off the ground.
Our foundation needs proper drainage to stay dry. We dig small trenches around the shelter’s edges to direct water away. A layer of dry leaves or pine needles on top of our raised platform creates extra insulation from the cold ground.
This setup takes 15-20 minutes but saves us from moisture problems later.
2. Framework setup
We set up our shelter framework with sturdy wood pieces at 45-degree angles. Our main poles need to rest firmly against each other to form a stable base. Strong rope ties keep the poles locked in place at key points.
Each pole must stay straight and level for the best support. We add cross beams to make the frame stronger and more stable. Our shelter frame needs good cordage at every joint to stop any movement in high winds.
3. Insulating and waterproofing
Our survival shelter needs proper insulation to stay warm and dry. We layer branches, leaves, and grass in 3-inch thick sections to create a cozy space that blocks cold air. Pine boughs work great as a top layer since they shed water well.
A waterproof shelter keeps us safe in harsh weather. We place tarps at 45-degree angles to direct rain away from our sleeping area. Natural materials like overlapping pine branches create a solid barrier against moisture.
Our shelter stays dry with 2-3 layers of waterproof coverage on top.
Key Survival Shelter Features
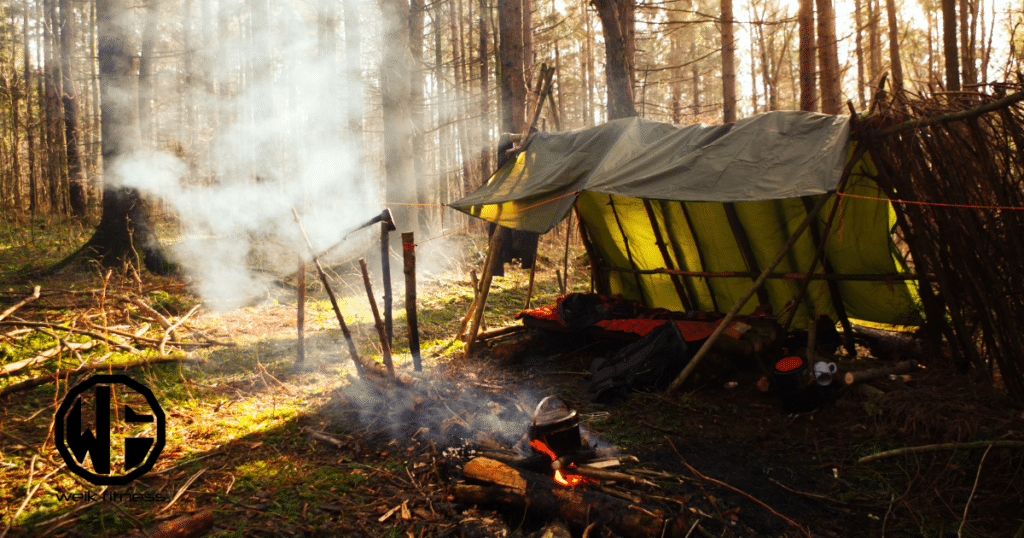
Your shelter needs three vital parts — fire safety with good airflow, strong walls that keep water out, and protection from harsh winds — and we’ll show you how to master each one in our next sections.
1. Fire safety and ventilation
Fire safety needs top care in survival shelters. We must build 2-3 small air holes near the top of our shelter to let smoke escape. A fire inside the shelter helps us stay warm but creates deadly carbon monoxide.
RELATED: Rocket Stove — Outdoor Cooking for Survival & SHTF
We place the fire pit close to the shelter entrance, never deep inside. This setup lets fresh air flow through while smoke exits fast.
Our shelter needs good airflow to stay safe. We cut ventilation gaps at least 6 inches wide on opposite sides of the shelter walls. Small fires need careful watching — we keep them contained in a ring of rocks.
The fire’s heat bounces off the shelter walls to warm us up. We always put the fire out before sleep to avoid smoke buildup at night.
2. Waterproofing and insulation
We build strong, waterproof shelters with tarps and emergency blankets. These materials keep us dry in rain and snow. Natural items like large leaves work, too. Our shelter stays dry inside no matter the weather.
Proper insulation needs thick layers of cattail leaves and grass stems. We pack tree leaves tightly between walls for warmth. Our shelter must block cold air from seeping in. Good insulation traps body heat and keeps us cozy through cold nights.
3. Windproofing considerations
Strong winds pose major risks to survival shelters. Our shelter needs thick layers of leaves and grass to block harsh gusts. Natural barriers like rocks or dense bushes shield our shelter from direct wind exposure.
A low shelter height of 3-4 feet cuts wind impact by 75%.
Proper shelter angles matter for wind protection. Our shelter’s entrance must face away from prevailing winds. Thick boughs placed at 45-degree angles stop wind from entering gaps.
Packing snow around winter shelters boosts density and creates an extra windproof barrier. Small entrance holes keep warm air inside while blocking cold drafts.
Advanced Wilderness Survival Shelter Types
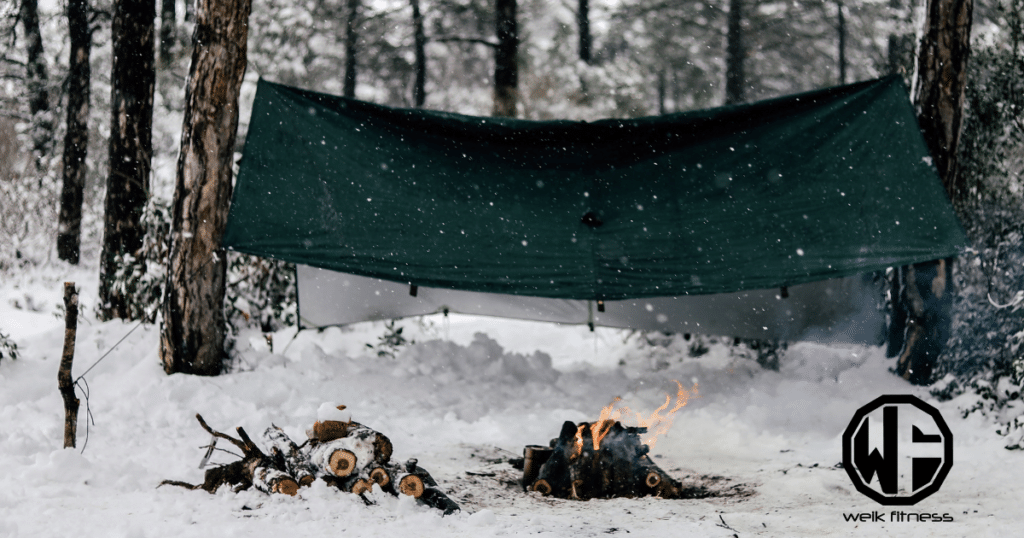
Advanced shelter building takes your skills to new heights with complex designs that protect you in extreme weather. These shelters need more time and skill to build, but they offer better protection against harsh elements like deep snow or heavy rain.
1. Quinzhee and snow shelters
A quinzee shelter keeps us warm at -6°F outside with an inside temp of 60°F. We pile up snow into a big mound and let it settle for 2-3 hours. This snow shelter needs just basic tools like a shovel and stick markers.
Our team digs out the inside carefully, making the walls 12 inches thick for safety.
We build these shelters fast in snowy areas using natural materials. The packed snow creates strong walls that block wind and trap body heat. Our quinzee fits 2-3 people comfortably with space for gear.
The entrance stays low to keep warm air inside. We place stick markers in the snow pile to avoid making the walls too thin while digging.
2. Tarp configurations: Tipi, Burrito, Wing
Tarp shelters offer quick setup options in survival situations. We love the Tipi style for its tall peak and good airflow — it needs just one pole in the center and stakes around the edges.
The Burrito setup rolls you up snug like its namesake food, while the Wing design blocks wind from any direction.
Our field tests show these three tarp setups work great in different weather. The Tipi gives us 6 feet of headroom and fits 2-3 people easily. Wing setups shield us from rain at 45-degree angles, and Burrito configurations keep us warm in cold spots.
We secure each corner with paracord and sturdy stakes for stable shelter in rough conditions.
3. Hybrid shelters using both natural and synthetic materials
We build strong hybrid shelters by mixing natural and man-made items. Our best combo uses tarps as the outer shell with leaves stuffed inside for warmth. This mix gives us the best of both worlds — the waterproof strength of synthetic materials plus nature’s free insulation.
Natural items like pine needles and grass work great under a tough tarp cover. We place these materials in layers to create a cozy spot that keeps us dry and warm. Our tests show this mix works better than just sticks or only tarps alone in cold or wet weather.
Survival Shelter Maintenance

A good shelter needs daily checks to stay safe and strong. We must fix small problems fast before they turn into big issues that can risk our safety at night.
1. Routine checks and repairs
We must check our survival shelter every 2-3 days to spot any damage. Our shelter needs quick fixes for loose branches, holes in the covering, or wet spots that could weaken the structure.
Five key areas need our focus: the roof’s strength, wall stability, drainage paths, entrance security, and bedding dryness.
Daily shelter upkeep saves time and keeps us safe in the wild. We fix small issues before they grow big — like patching tiny leaks or replacing worn-out insulation. Our shelter stays strong through rain, wind, and snow with three basic tools: extra cordage, natural patches, and backup tarps.
Smart repairs now stop bigger problems later.
2. Adapting to changing weather conditions
Our survival shelter needs quick changes as the weather shifts. We check our shelter’s roof and walls every 4 hours to spot any leaks or weak spots. Strong winds need extra support poles, while heavy rain calls for added palm leaves or tarps on top.
Our shelter stays dry and safe through smart fixes. We add more insulation layers in cold snaps and create extra air gaps during hot spells. A low-to-the-ground design helps block harsh winds, while proper drainage channels keep water away from our sleeping area.
Building shelters close to natural windbreaks, like large rocks or dense trees, give us better protection against storms.
Practical Tips and Tricks for Survival Shelter Building
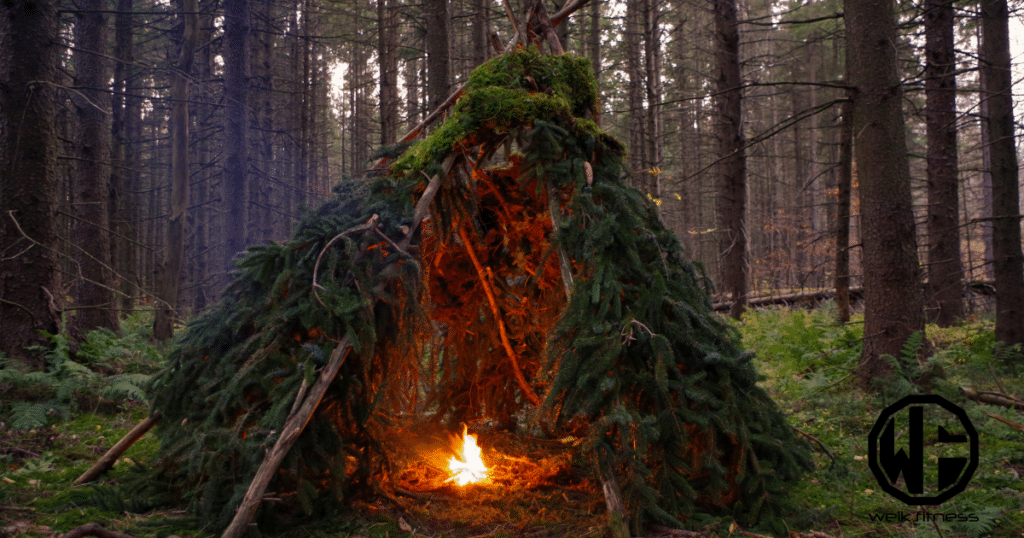
Smart tricks can speed up your shelter building and save your energy in the wild. We’ll show you quick methods to tie knots, pick the right tools, and use what nature gives you to make a safe place fast.
1. Efficient use of time and resources
Time matters in survival situations. We need to build our shelter in 15 minutes or less to focus on fire-building tasks. Our shelter kit must include basic tools like ropes and tarps for quick setup.
Building a fire from the wind takes priority after shelter completion.
A well-prepared shelter kit saves time and energy in the wilderness. We pack first aid kits and emergency blankets to stay ready. Natural materials like leaves and wood lie within reach at most sites.
Two trees serve as perfect anchor points for lean-to shelters, making building easier and faster.
2. Simple tools and knots for construction
We need three basic knots for shelter building: the Bowline, Double Sheet Bend, and Halter Hitch. These knots keep our shelter parts tight and safe. Our tools stay simple — a sharp knife, some rope, and maybe an ax will do the job.
RELATED: Bushcraft Skills — Surviving and Thriving in the Great Outdoors
The Bowline knot makes loops that won’t slip, perfect for tying shelter poles. The Double Sheet Bend joins two ropes of different sizes, while the Halter Hitch secures tarps and covers.
Every knot must sit neat and tight to work right in survival shelters. We tie each part with care to stop any slips that could make our shelter fall. Our tools help us cut wood, shape poles, and fix parts fast.
A good knife lets us strip bark for rope and cut branches to size. Each tool serves many uses, making our packs lighter for bushcraft survival.
A Survival Shelter Without Proper Knowledge and Skill Can Be Deadly

Survival shelter skills save lives in tough spots when you don’t have a sleeping bag available. Building a safe shelter needs practice and the right tools. Master these skills now through hands-on practice with natural materials like leaves, wood, and grass.
RELATED: How to Get Prepared and Be Safe as an Urban Survivalist
Your life might depend on knowing how to build a shelter without modern gear. Stay ready, stay alive — practice shelter building today.
As a side note to close out this article, if you want to support our website and are in need of any tactical gear (or any product for that matter), anything you purchase using our links below will provide us with a small commission. We don’t charge for our free content and our goal is to keep it that way. We don’t have a Patreon account to put things behind a paywall, nor do we sell pics of our feet on OnlyFans.
If you choose to use the links below and make a purchase (at no additional cost to you), we greatly appreciate your support as it helps us continue to publish free content (like this article) on our website:
- Optics Planet (use code SAS5 at checkout for 5% off)
- Amazon
We have also partnered with CCW Safe. It’s the concealed carry coverage that I personally have for myself and my family in the event we need to defend our lives. Feel free to use our CCW Safe link to sign up and get some coverage to protect yourself and your family.
Also if you have a product you would like us to check out and potentially review, please contact us and let’s discuss.


