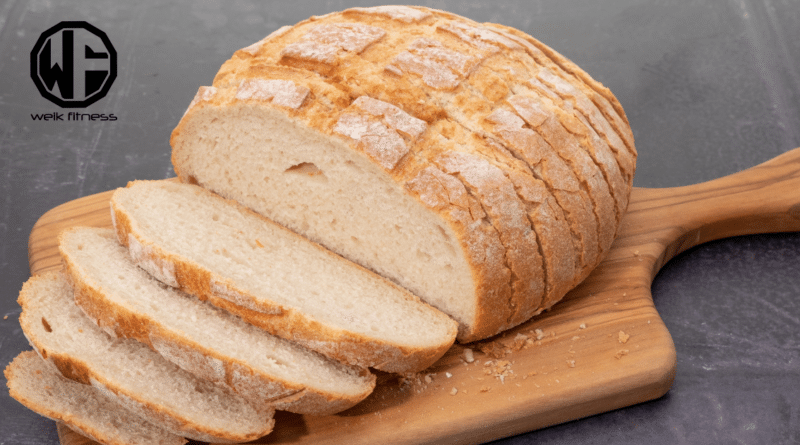
Making a Healthy Homemade Sourdough Bread Recipe
Are you tired of store-bought bread that tastes bland and isn’t very healthy? Do you want to make an awesome sourdough sandwich? Many people feel the same way. Sourdough bread can really change things up — it’s yummy and good for you, too.
New to sourdough bread? This article will show you how to make your first loaf of sourdough bread at home. You’ll find out why it’s healthy and how to bake it just right. Ready to give it a try? No bread machine needed to bake the sourdough bread.
Let’s jump in and get baking our sourdough recipe!
Disclaimer: This article is for informational purposes only and is not meant to treat or diagnose any condition. It is recommended that you speak with your doctor before starting any exercise program, changing your daily nutrition, or adding any supplements to your regimen.
Table of contents
Key Takeaways
- Sourdough bread is healthier than regular bread. It’s easier to digest and has a lower glycemic index.
- The slow fermentation process in sourdough creates good bacteria. These act like probiotics and help your gut health.
- Making sourdough starter is easy. Mix equal parts flour and water, and feed it daily. It’s ready when it bubbles and smells sour.
- To bake sourdough bread, mix starter, flour, water, and salt. Let it rise for 3-12 hours. Shape, rise again, then bake at 450°F.
- Use a kitchen scale for exact measurements. Plan your baking schedule. These tips help make perfect sourdough bread every time.
What is Sourdough Bread?
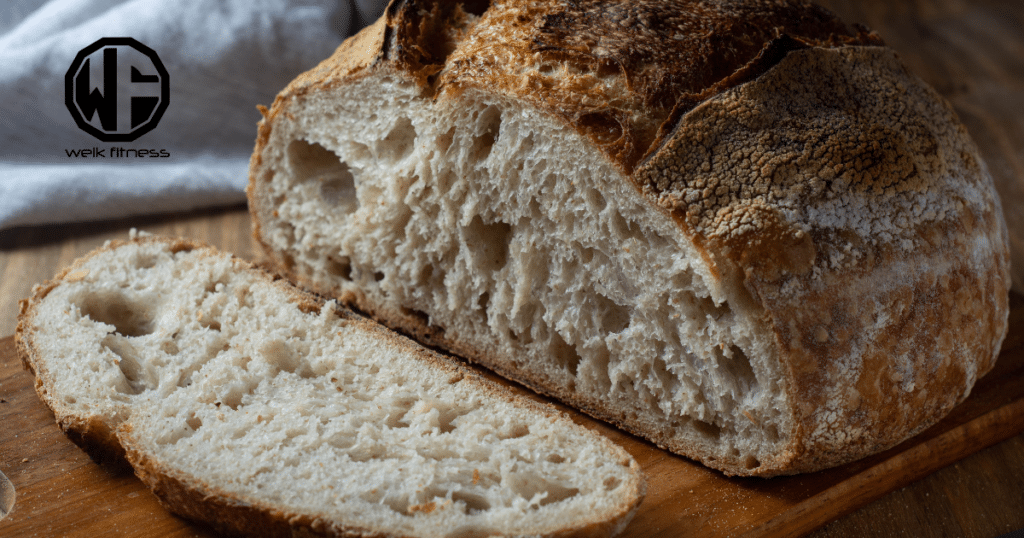
Sourdough bread is my favorite type of bread. It’s made with flour, water, salt, and a live culture called sourdough starter. This starter contains wild yeast and good bacteria that ferment the dough naturally.
I love how it gives the bread a tangy flavor and chewy texture.
Making sourdough is different from regular bread. It doesn’t use commercial yeast. Instead, the starter breaks down the flour over time. This slow process creates a bread that’s easier to digest and more nutritious.
My go-to recipe uses bread flour, active starter, water, salt, and a touch of olive oil for richness.
Why Sourdough Bread is Good for Your Health
Sourdough bread is awesome for your health. It’s easier to digest and has a lower glycemic index than regular bread.
1. Improved digestion through natural fermentation
I love how sourdough bread helps my digestion. The natural fermentation process breaks down gluten and phytic acid. This makes the bread easier for my body to handle. I’ve noticed less bloating and discomfort after eating sourdough compared to regular bread.
Fermentation also creates beneficial bacteria in the bread. These act like probiotics in my gut. They support my digestive health and boost my immune system. I feel great knowing I’m feeding my body something that’s both tasty and good for me.
2. Lower glycemic index compared to regular bread
Sourdough bread beats regular bread when it comes to health. Its glycemic index is lower, which means it won’t spike your blood sugar as much. A study of 25 trials with 542 people backs this up.
The slow fermentation process breaks down starches, making them easier to digest. This leads to a gentler rise in blood sugar after eating.
I’ve found that swapping regular bread for sourdough can help manage blood sugar levels. The good bacteria in sourdough, like Lactobacillus plantarum, play a key role. They work to improve how your body handles glucose.
This makes sourdough a smart choice for anyone watching their blood sugar or aiming for better health.
3. Enhanced nutrient absorption
Sourdough bread boosts our nutrient intake. It’s great for health nerds like us. The fermentation process breaks down phytic acid, a compound that can block mineral absorption.
This means our bodies can grab more iron, calcium, magnesium, and zinc from each bite. I’ve seen studies showing up to 62% more mineral availability in sourdough compared to regular bread.
RELATED: Gluten-Free Bread — Is It Worth Making the Switch?
That’s a big win for our daily nutrition goals!

Sourdough’s magic doesn’t stop there. The lactic acid bacteria in the starter create an acidic environment. This acid helps our gut absorb nutrients better. Plus, it makes proteins easier to digest.
I’m always excited to share that sourdough can increase the bioavailability of folate by 100%. For those of us aiming to optimize our health, these nutrient boosts are pure gold. It’s why I make sourdough a staple in my diet — every slice is packed with nutritional goodness.
4. Supports gut health with probiotics
Sourdough bread is loaded with helpful probiotics. These good bacteria boost gut health in big ways. They help break down food and fight off bad bugs. My gut feels happier when I eat sourdough regularly.
It’s like a tasty health boost in every slice.
Probiotics in sourdough do more than just aid digestion. They strengthen our immune system, too. A healthy gut means a stronger body overall. I’ve noticed fewer tummy troubles since adding sourdough to my diet.
It’s an easy way to support my gut and overall health.
5. Rich in antioxidants
Sourdough bread is full of rich antioxidants. These powerful compounds fight harmful free radicals in our bodies. Studies show they may lower cancer and rheumatoid arthritis risks.
I’ve seen how adding sourdough to my diet boosts my health. Its unique fermentation process creates more antioxidants than regular bread. This means each bite packs a bunch of health benefits.
I always tell my friends to swap their usual bread for sourdough to get these benefits.
Make Sourdough Bread Starter
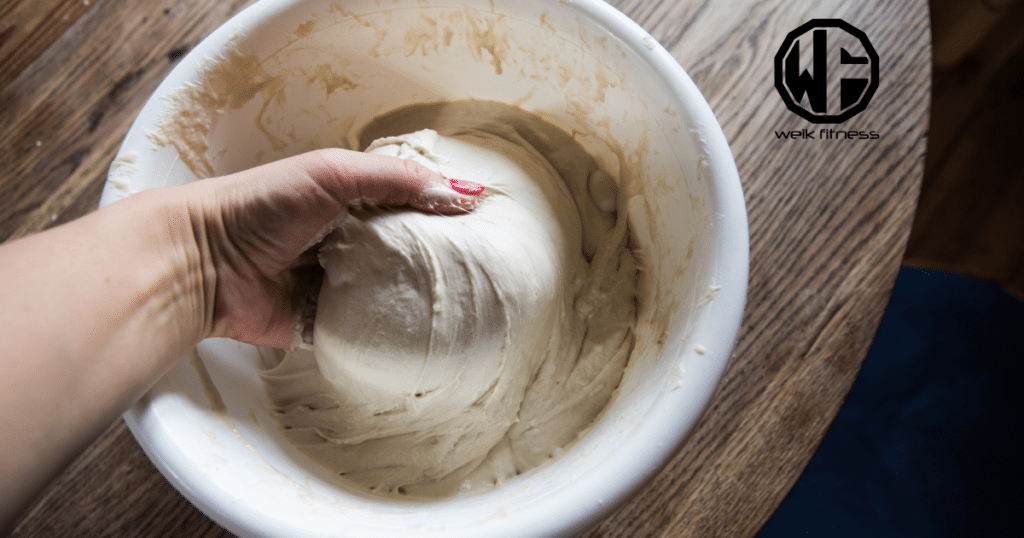
Making a healthy sourdough starter is key to the best loaf of bread. You’ll need flour, water, and time to create this living mixture of wild yeast and good bacteria.
Let’s dive into how to make our beginner’s sourdough bread recipe!
What is a sourdough starter?
The first thing you need to do is get a sourdough starter in my bread. It’s a mix of flour and water that ferments over time. Wild yeasts and good bacteria grow in it, making it bubbly and sour. These tiny organisms are key — they help the bread rise and give it flavor.
My starter contains helpful microbes like Lactobacillus and Saccharomyces cerevisiae. I feed it fresh flour and water regularly to keep it alive. With proper care, a starter can last for years or even decades.
It’s the heart of tasty, healthy sourdough bread.
Creating a sourdough starter
I start my sourdough journey by mixing equal parts flour and water in a jar. I use 70g medium protein white flour and 30g whole-grain rye flour for better nutrients. Then, I add 100g water.
I keep this mixture warm at 80°F (26°C) and feed it daily with the same ratio. After a few days, I see bubbles, smell a sour aroma, and notice a looser texture. That’s when I know my starter is ready to use.
I feed it one last time with 20g of the ripe starter plus the flour and water mix. Now, I’m set to bake healthy, gut-friendly bread at home.
Feeding and maintaining your starter
I feed my sourdough starter every 1-2 weeks. It’s simple — I mix equal parts flour and water. This keeps my starter happy and healthy. I store it in the fridge when I’m not baking often.
This slows down its activity, and needs less feeding.
If I forget to feed my starter for 3-4 weeks, no worries! I can bring it back to life. I just give it a few regular feedings at room temp. Soon, it’s bubbly and ready to make tasty, healthy bread again.
Keeping a starter alive is easy with these tips.
Step-by-Step Healthy Homemade Sourdough Bread Recipe
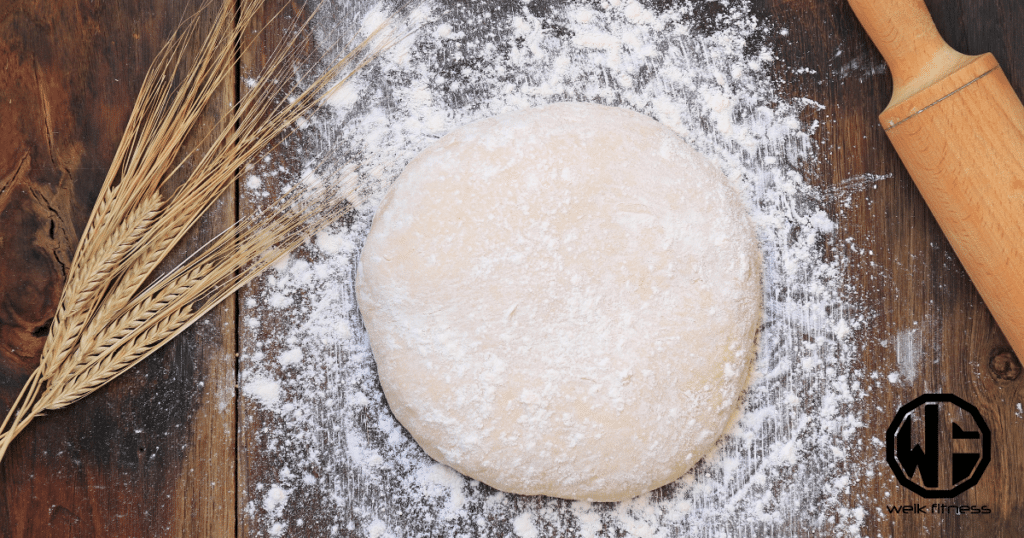
I’ll show you how to make tasty, healthy sourdough bread step-by-step.
Let’s jump into my easy method for baking perfect loaves of fresh sourdough bread at home!
Step 1: Gather ingredients and equipment
Get ready to make some healthy sourdough bread! You’ll need 150g of active sourdough starter, 250g warm water, 25g olive oil, 500g bread flour, and 10g fine sea salt. These simple ingredients are super healthy.
For baking, a 5.5 to 6-quart Dutch oven is key. It helps create that perfect crust we all love.
I like to use a kitchen scale for exact measurements. It’s crucial for consistent results. I also grab a large mixing bowl, a dough scraper, and a bread lame for scoring. Cornmeal or parchment paper helps prevent sticking.
With these tools and ingredients, I’m set to make a loaf that’s not just tasty but good for my health, too.
Step 2: Mix the dough
I start by combining water, starter, and flour in a large bowl. This mix forms the base of my sourdough bread. I knead the dough for about 5-10 minutes by hand. If I’m using an electric mixer, I let it run for 10 minutes.
This step is key for gluten development.
Next, I let the dough rest for 15-30 minutes (you may cover the bowl if you wish). Bakers call this the autolyse period.
After resting, I add salt and a bit more water. Then I knead again for 5-10 minutes. This final mix ensures all ingredients blend well.
The dough is now ready for the next steps in my sourdough bread-making process.
Step 3: Bulk fermentation (first rise)
Bulk fermentation is the heart of sourdough magic. I let my dough rest for 3-12 hours at room temp (68-70°F). During this time, I stretch and fold every 30 minutes for the first 3-4 hours.
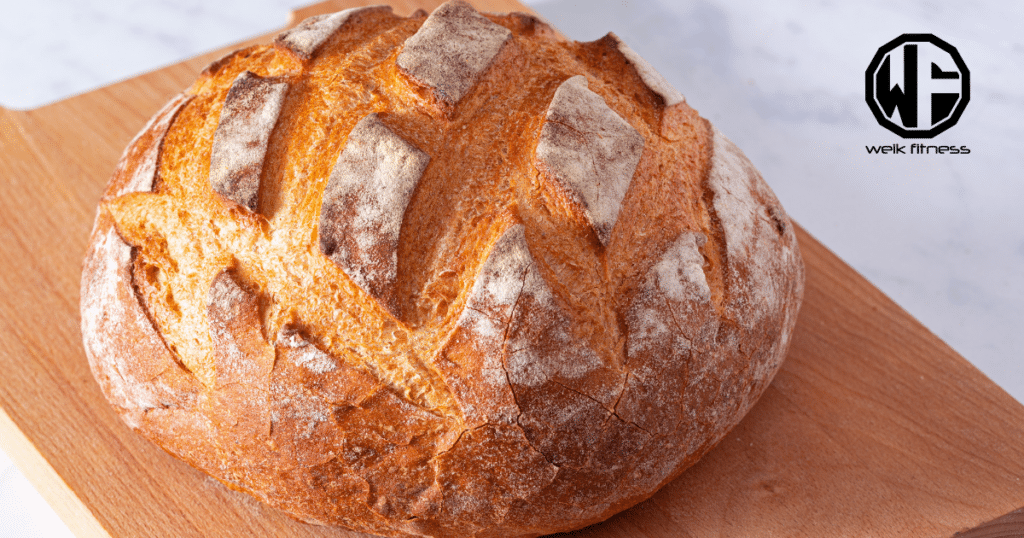
This builds strength and traps air bubbles. The dough doubles in size and gets a smooth, shiny look. It’s amazing to watch!
I love this step because it’s when the good bacteria work their health wonders. They break down gluten and create lactic acid. This makes the bread easier to digest and lowers its glycemic index.
Plus, it boosts nutrient absorption. The longer ferment means more probiotics and antioxidants in my final loaf.
Step 4: Shape the dough and second rise
I shape my easy sourdough bread dough on a floured surface (you can also put it on a piece of parchment paper). I let it rest seam side up for 30 minutes. This helps the dough relax and makes it easier to work with.
Next comes the second rise. I can do this in two ways. I either let it sit at room temp for 30-60 minutes or put it in the fridge for up to 1-48 hours. The dough should get slightly puffy during this time.
This rise builds flavor and texture in my bread.
Step 5: Preheat the oven and prepare to bake bread
I preheat my oven to 450°F with a Dutch oven inside. This step is key for that perfect sourdough crust. The Dutch oven needs to be hot before I put my dough in. It helps create steam, giving my bread a nice rise.
Next, I lower the temp to 400°F. I’ll bake my bread covered for 20 minutes. This traps moisture and helps the bread expand. After that, I’ll take the lid off to let the crust brown.
My kitchen smells amazing as the bread bakes!
Step 6: Score and bake the bread
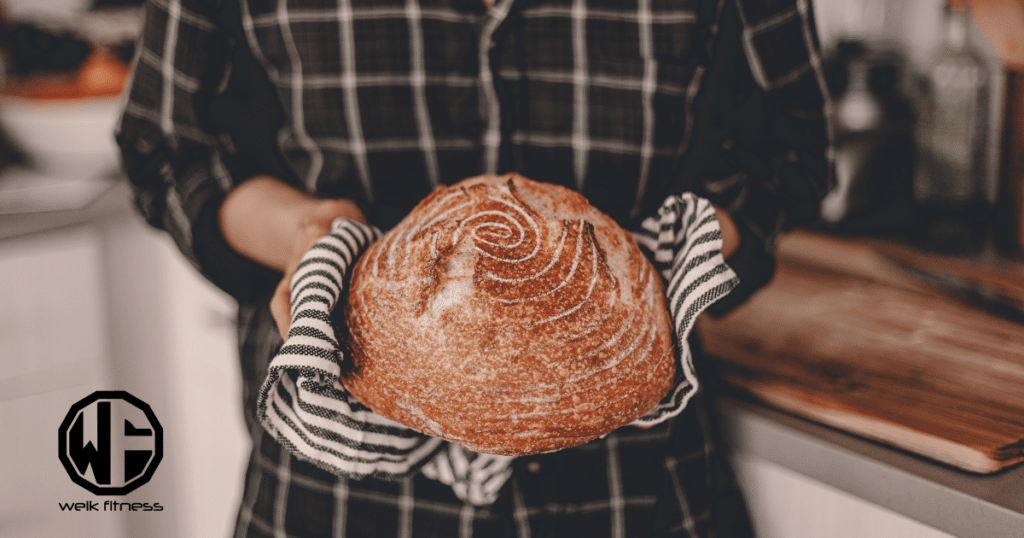
Now, it’s time to bake my sourdough bread! I score the dough with a sharp knife before baking. This lets the bread expand in a controlled way. I pop it in a hot oven for 40 minutes uncovered. The bread is done when it reaches 205-210°F inside.
I use a thermometer to check. After baking, I let the loaf cool for at least an hour. This helps the texture and makes it easier to slice.
Scoring and baking are key steps for great sourdough. The cuts on top create that classic look and help the bread rise evenly. A hot oven gives a nice crust and soft inside. Cooling is crucial, too.
It lets the flavors develop fully. With these tips, you’ll get a tasty, healthy loaf every time.
Tips for the Perfect Beginners Sourdough Bread
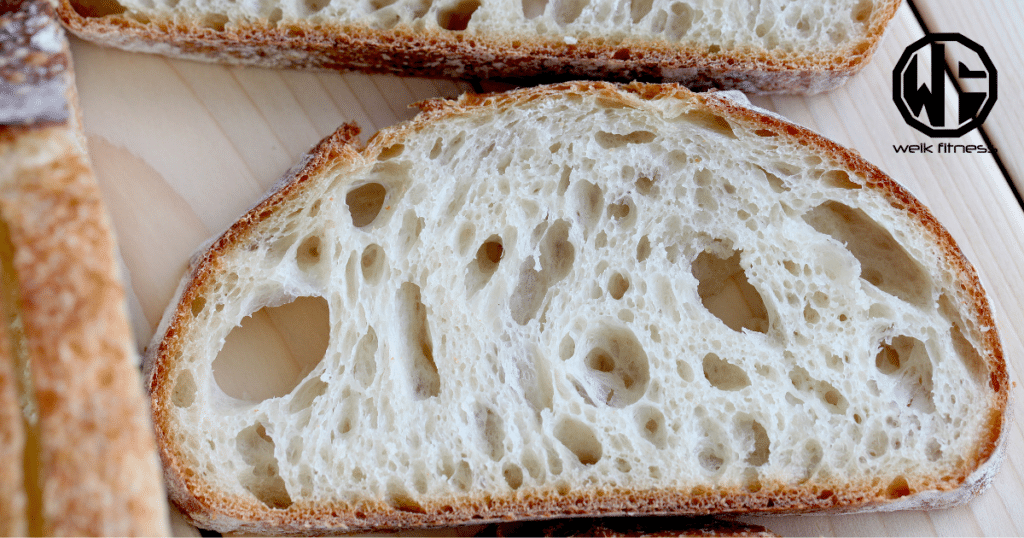
Want to make great sourdough bread? I’ve got some tips for you. These tricks will help you bake tasty loaves every time.
1. Use a kitchen scale for accuracy when sourdough baking
I always use a digital kitchen scale when making sourdough bread. It’s a must for accuracy. Weighing ingredients gives me consistent results every time. A scale helps me measure flour, water, and salt precisely.
This precision is key for the perfect dough texture and taste.
Eyeballing or using cups can lead to mistakes. Even small errors can affect the bread’s quality. With a scale, I get the same great loaf each bake. It’s a simple tool that makes a big difference in my sourdough journey.
2. Plan your sourdough bread baking schedule
I plan my sourdough baking schedule around my 9-to-5 job. It’s easy! I mix the dough in the evening, let it rise overnight in the fridge, and bake fresh bread the next day. This flexible approach fits my busy life and ensures I always have tasty, healthy sourdough on hand.
For best results, I stick to a set routine. I feed my starter at the same time each day, mix dough after work, and shape loaves before bed. Consistency is key for great sourdough. With practice, I’ve fine-tuned my schedule to produce perfect loaves every time.
3. Troubleshooting common issues when sourdough bread baking
Your first sourdough bread can be tricky, but don’t worry! I’ve faced many issues and learned how to fix them. Here are some common problems and solutions to make the best sourdough loaf:
- Gummy crumb: This often happens with new starters or under-fermented dough. Let your starter mature for at least a week. Make sure your dough rises fully before baking.
- Uneven crumb: Check if your starter is active. It should double in size 4-8 hours after feeding. Also, give your dough enough time to ferment and develop air pockets.
- Deflated loaf: Over-fermentation can cause this. Watch your dough closely. Bake when it’s puffy but still holds its shape.
- Dense bread: Use a kitchen scale for exact measurements. Make sure your oven is hot enough – aim for 450°F (232°C).
- Pale crust: Bake your bread longer. A golden-brown crust adds flavor. The inside should reach 208°F (97°C).
- Flat loaf: Shape your dough tightly. Let it proof in a basket or bowl to help it keep its form.
- Burnt bottom: Place a baking sheet under your Dutch oven. This extra layer protects the bottom from direct heat.
- Sticky dough: Add flour slowly while kneading. A little goes a long way. Too much can make your bread dry.
Time to Bake Your Simple Sourdough Bread
Making sourdough bread is a fun and healthy adventure with our beginner’s guide to sourdough bread. I’ve shared my best tips to help you create tasty loaves at home. Your body will thank you for the extra nutrients and easier digestion.
RELATED: Melt in Your Mouth Macro-Friendly S’Mores Protein Bread Recipe
Start small, be patient, and enjoy the process when making delicious sourdough bread. Soon, you’ll be baking amazing bread that’s good for you! Use it as sandwich bread, or however you wish!


*Disclosure: This article may contain affiliate links or ads, which means we earn a small commission at no extra cost to you if you make a purchase through these links. These commissions help support the operation and maintenance of our website, allowing us to continue producing free valuable content. Your support is genuinely appreciated, whether you choose to use our links or not. Thank you for being a part of our community and enjoying our content.
PLEASE CONSIDER SHARING THIS ON YOUR SOCIAL MEDIA TO HELP OTHERS LEARN MORE ABOUT THIS TOPIC.


