How To Start a Fire: A Beginner’s Guide To Outdoor Skills
Figuring out how to start a fire may seem intimidating, particularly for those new to outdoor adventures. If you’ve ever tried and ended up with mere smoke instead of a strong flame, I feel you, as that’s how my journey first started, too.
What I’ve learned is that making a successful campfire is more than just possessing the right tools; it’s about mastering their application. After much practice and extensive research, I’ve discovered some dependably effective techniques.
This guide, “How To Start A Fire,” provides detailed instructions on selecting the right materials like tinder, kindling, and logs to ensure your fire starts strongly. You’ll be introduced to various fire-building techniques, whether you prefer tepee or log cabin styles, and how to safely light it using matches, a lighter, or even primitive methods.
What’s more, maintaining a steady fire without it becoming a risk is crucial, so I will also share some tips on accomplishing this. Let’s dive into things.
Table of contents
- Key Takeaways
- Essential Materials for Starting a Fire
- Popular Configurations on How to Start a Fire
- Step-by-Step Guide to Building a Campfire
- Methods on How to Start Fire
- Tips for Fire Maintenance
- Safety Tips Around the Fire
- Advanced Techniques on How to Start a Fire
- Learning How to Start a Fire Could Save Your Life
Key Takeaways
- Starting a fire outdoors needs tinder, kindling, and logs. Birch bark works well for tinder because it lights easily.
- Fire setups like tepee or log cabin help manage how the fire burns. Tepee is quick to start, while the log cabin lasts longer.
- Use matches, lighters, flint and steel, or magnifying glass to light your fire. Waterproof matches are good in damp conditions.
- Keep your fire safe by watching it carefully and putting it out fully with water when done.
- Advanced tips include using InstaFire Pouches for wet wood and natural materials like birch bark as fire starters.
Essential Materials for Starting a Fire
Your ability to start a fire can be the difference between life and death or being eaten alive by bugs. If you go camping or hiking and don’t utilize something like Sawyer Premium Permethrin Insect Repellent, you may be in for a rough time. Starting a fire may be the only thing to prevent insane amounts of bug bites.
To start a fire outdoors, you’ll need specific materials. These include tinder, kindling, and firewood. Each of these items serves a crucial purpose in the process of igniting and maintaining a safe and effective campfire.
1. Tinder
I always start my fire with the right tinder. It’s a key step to get a fire going fast. Silver birch bark is my top pick for tinder because it catches fire easily, even when wet. This bark has oils that light up with just a spark.
I’ve found cotton wool balls work well, too, especially if I’m in a pinch.
Making char cloth is another trick I use. I take pieces of cotton or linen fabric and burn them until they’re charred but not turned to ash. This process makes them perfect for catching a spark from flint and steel.
Using natural materials like these helps me build fires quickly in any outdoor situation, ensuring I can keep warm or cook food without hassle.
2. Kindling
I always split 15-20 pieces of kindling the size of my thumb before starting a fire. Kindling is a must-have to get a campfire going. It catches fire fast, turning small flames from tinder into a larger, stable blaze.
Dry grass, leaves, and small twigs work well. I find they light up easily with just one match and burn quickly enough.
In my experience, building your fire right means carefully adding kindling on top of your tinder bed. This step creates enough heat for the larger logs later on. Every time I build a fire, whether in my backyard or out in the wilderness, paying attention to how I lay out the kindling makes all the difference for a roaring campfire that keeps going strong.
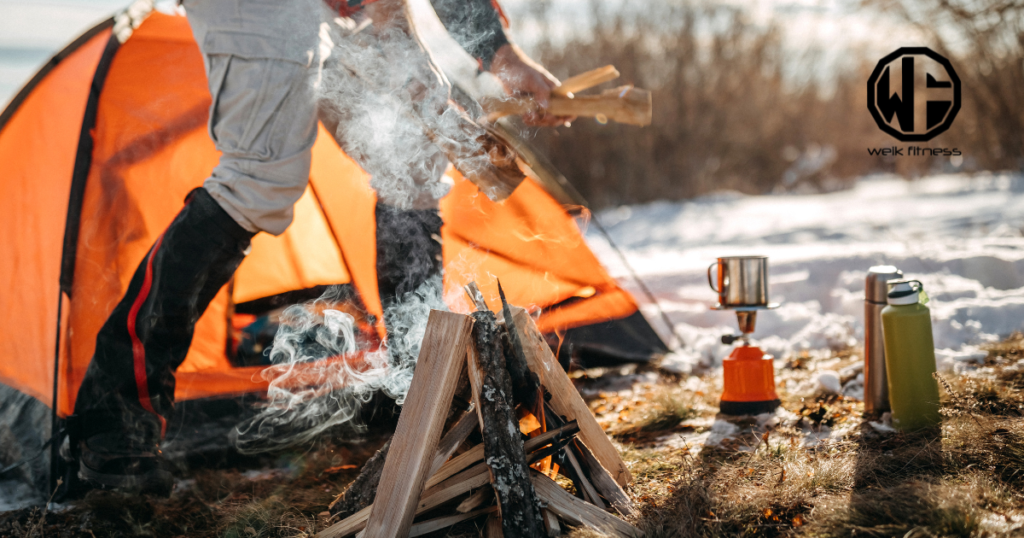
3. Firewood
I gather dry wood of different sizes for my fire. Small, medium, and big pieces are key. For any campfire to burn well, it needs the right fuel wood. I always make sure to have more than enough.
This means grabbing lots of dead branches and logs from around my campsite.
Starting with small sticks helps me get the fire going. As it grows, I add larger pieces slowly. This method keeps the flames steady and strong. Using dry material is important, too; wet wood just won’t light properly.
Keeping a good supply means I can feed the fire for as long as needed without running out quickly.
Popular Configurations on How to Start a Fire
When building a campfire, it’s crucial to understand the popular fire configurations. Each method has its advantages for different situations and purposes. Learning about these configurations will help you tailor your approach to various outdoor settings and conditions.
1. Tepee or Cone
The ability to create a fire with the tepee (or teepee) or cone configuration is a practical and simple method. It’s ideal for generating a swift, intense flame. To construct it, I arrange longer kindling against each other in a conical shape with tinder in the center.
Employing this setup creates room for airflow, enabling the fire to ignite effortlessly and burn effectively. The tepee or cone arrangement also creates rapid heat production, making it an exceptional choice when seeking quick warmth or preparing food over an open flame.
Keeping in mind the importance of ensuring safety and understanding how to manage different fire setups is crucial for outdoor activities such as camping and survival scenarios.
2. Log Cabin
When building a fire, the log cabin configuration is one of my favorites. It involves laying two pieces of fuel wood parallel to each other, then adding two more on top at right angles.
This method creates a spread-out square shape, which keeps the coals burning for longer periods. Because it produces many embers and consistent heat, it’s great for cooking over an open flame.
The log cabin lay can be particularly useful in situations where you need long-lasting heat or when you’re working with wet or green wood that’s difficult to ignite. This configuration ensures that even dense wood doesn’t smother the flames as they struggle to catch, making it easier to maintain a steady source of warmth and light.
3. Lean-To
The lean-to-fire setup is my preferred method to get a fire started because it’s less likely to collapse than teepee-style fires. This configuration works well in windy conditions since it uses a natural windbreak, making it reliable and effective.
In real-world scenarios, the lean-to style has been instrumental in ensuring that I can start a fire even when facing challenging weather conditions. It provides stability and allows for better control over the fire-making process.
I’ve found myself relying on the lean-to structure time after time, especially during adverse weather situations. It’s proven to be dependable and efficient, enhancing my confidence and skills in outdoor survival scenarios.
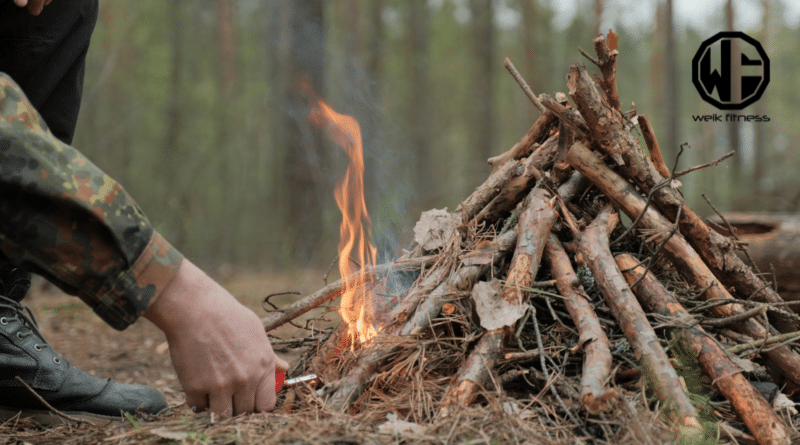
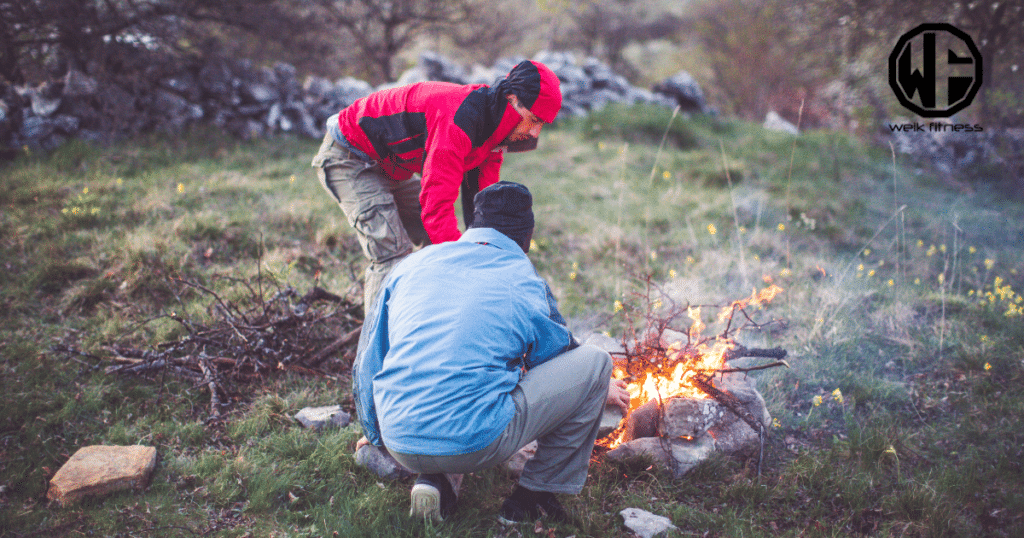
Step-by-Step Guide to Building a Campfire
Building a campfire requires preparation and attention to detail. Let’s dive into how to start a fire out in the woods.
1. Choose a Safe Fire Site
When setting up a campfire, it’s crucial to select a safe spot. Look for an area clear of dry grass, leaves, and overhanging branches. The designated fire pit should be at least 25 feet away from flammable materials.
This helps prevent the spread of fire and ensures a safer environment for everyone around the camp.
I always make sure there are no low-hanging branches or obstacles that could catch fire nearby. It’s also wise to have a shovel and water handy in case of emergencies when setting up your site.
By being mindful of these details, you can create a secure location for building your fire without worry.
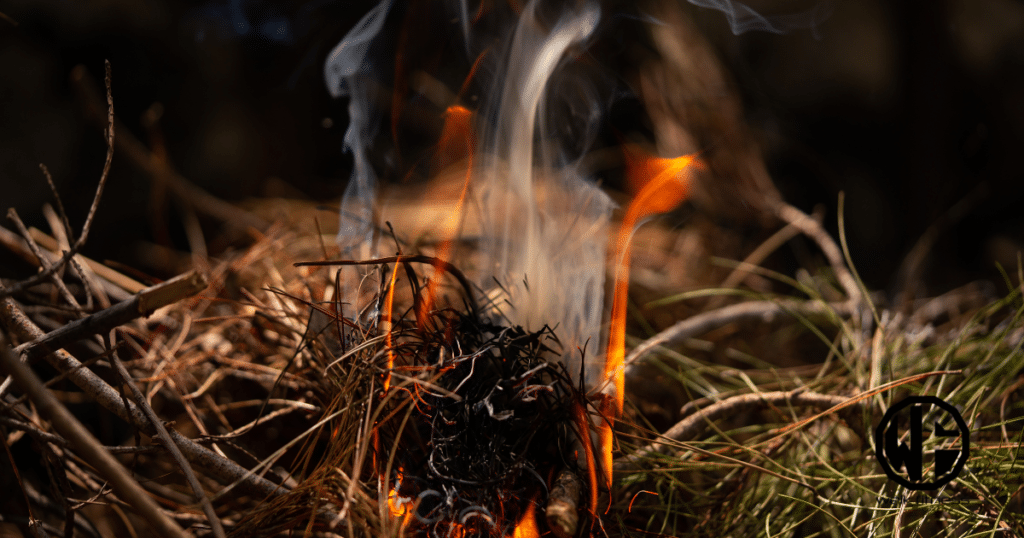
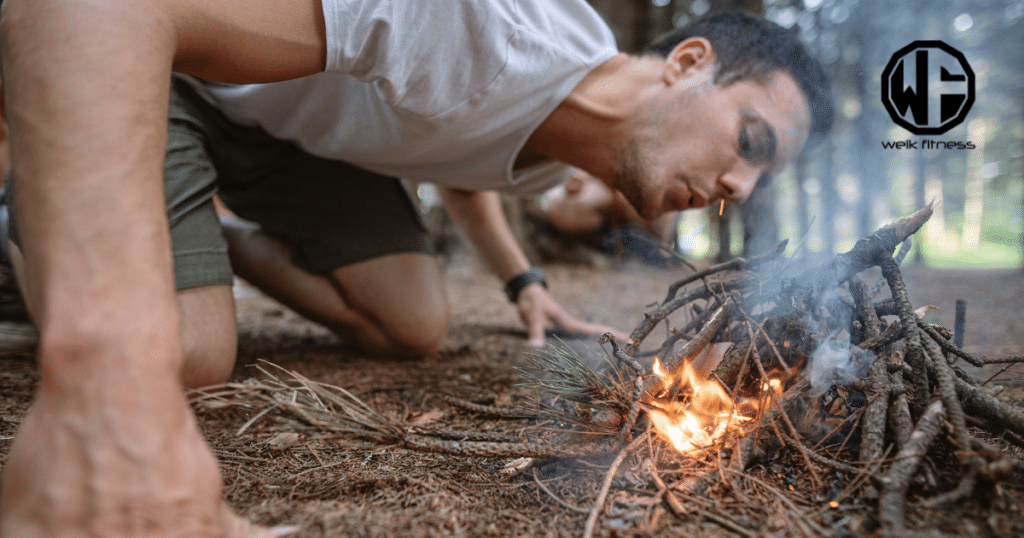
2. Create a Tinder Bed of Twigs, Small Sticks, and Dry Grass
To establish a tinder bed, it’s important to collect highly flammable materials such as dry leaves and dry grass, small twigs, or birch bark. These materials should be positioned at the center of your fire ring to establish the base for your fire and facilitate the ignition of larger wood pieces.
Pine needles can also serve as effective tinder material. When positioned at the core of your fire ring, they ignite rapidly and offer a sturdy foundation for initiating a campfire.
It’s essential to emphasize the significance of having a strong tinder bed to efficiently start a fire in outdoor environments.
3. Add Kindling and Fuel
Adding kindling is a crucial step in starting a campfire. Kindling includes dryer lint you brought with you, cotton balls with or without something on them like petroleum jelly, small twigs, dry leaves, pine needles, or small pieces of wood. These materials help ignite the larger firewood, creating the initial flame.
I’ve discovered that arranging the kindling in a loose and airy manner promotes better airflow and encourages the flames to grow. Starting with smaller pieces near the tinder bed before gradually adding thicker pieces allows for a more controlled ignition process.
It’s crucial to make sure the kindling is dry to facilitate easier combustion and minimize smoke production. This approach has consistently assisted me in efficiently starting fires during my outdoor excursions.
Keep in mind, properly adding kindling not only aids in successful fire building but also ensures a steady supply of heat for cooking or warmth in survival situations.
4. Structure Configuration for Fire Making
To construct an effective campfire, it’s essential to select the right fire configuration. Each structure offers its advantages. The lean-to arrangement positions the wood for quick and efficient lighting, which is ideal for emergencies.
Conversely, the log cabin setup delivers a long-lasting burn, making it perfect for leisurely gatherings around your campsite in the evening. By choosing the appropriate fire structure based on your requirements, you can guarantee that your outdoor experience is secure and enjoyable.
Understanding these different configurations when setting up a fire in the wilderness or at your prepper basecamp allows you to customize your fires to specific scenarios.
Whether it’s fast warmth during an emergency or a long-lasting flame for extended comfort, these structures provide you with the flexibility to manage your fire according to your present needs.
Mastering these structures ensures that you have acquired essential survival skills while enriching your outdoor experience, enabling customized fires precisely tailored to meet the requirements of each situation.
Methods on How to Start Fire
There are various methods you can use to get a fire going. You can ignite it with matches or lighters, use flint and steel, or start a fire with a magnifying glass. Each method has its own benefits and challenges.
If you’re in the wild without conventional tools, using flint and steel is an age-old technique relying on the sparks created by striking iron against hard rocks such as flint to catch tinder alight.
Similarly, starting a fire with a magnifying glass utilizes sunlight to concentrate heat onto the tinder until it ignites.
1. Start a Fire with Matches or Lighters
To start a fire using matches or lighters, I advise having waterproof matches as they are reliable in damp conditions. If you’re using a lighter, ensure it’s a BIC lighter, which can produce approximately 1,000 one-second fires.
It’s essential to have dry tinder and kindling ready before igniting the fire.
When lighting the fire with a match or lighter, hold the flame close to the base of the tinder until it catches fire. Gradually add more kindling and then larger pieces of wood as the fire grows.
Remember to never leave your fire unattended and always extinguish it properly after use. By using these methods, you will be able to ignite a successful campfire for your outdoor adventures.
Something to note is that if your lighter (such as a BIC lighter) runs out of fluid, you can still use it to create a spark that can ignite your tinder. Additionally, if you want to keep your lighter dry and preserve the fluid, I’d highly recommend you store it in the Exotac FireSLEEVE. I keep all of my Bic lighters in the FireSLEEVE and use some 550 cord to secure the lid to the body of the case so it doesn’t get lost in the woods if dropped.
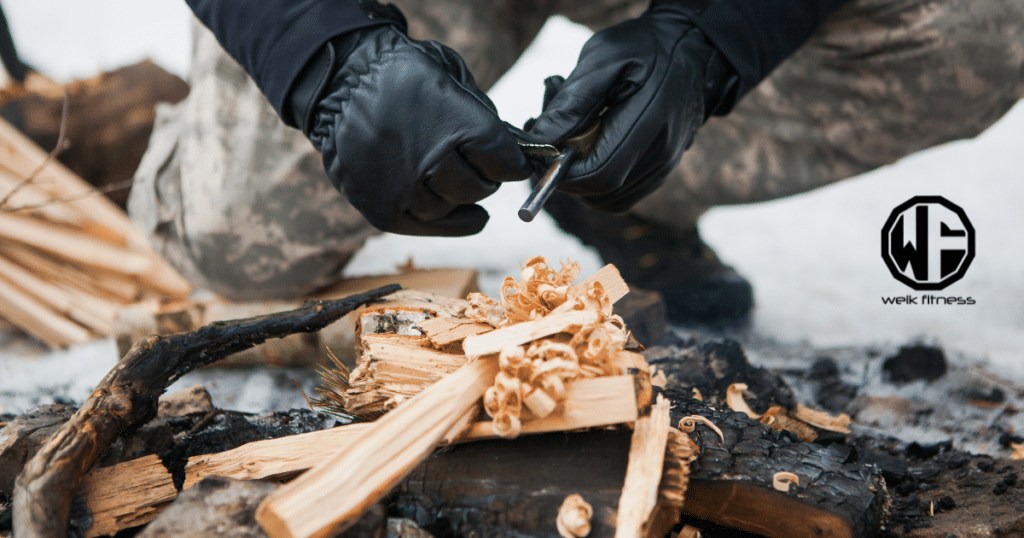
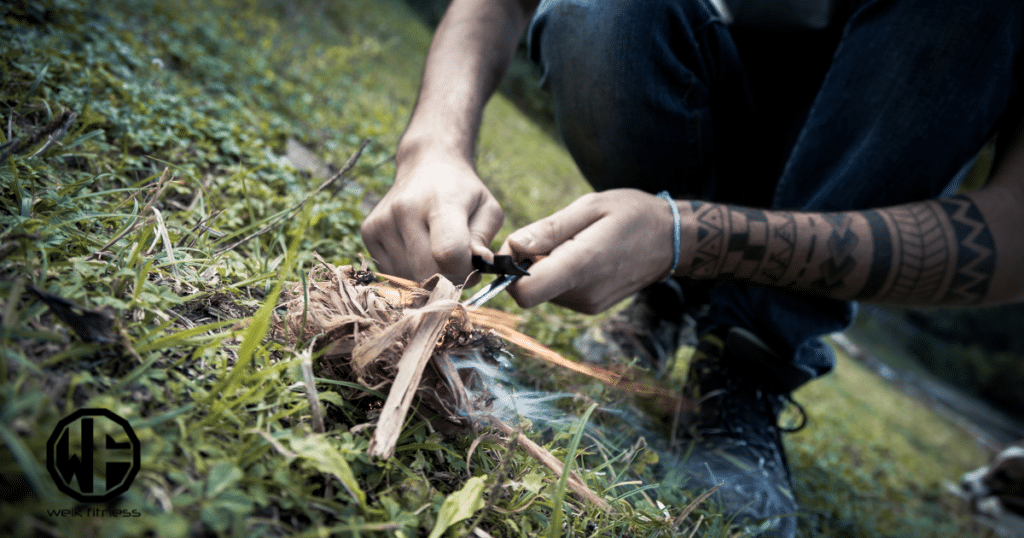
2. Using Flint and Steel to Start a Fire Without a Lighter to Ignite
You can light the tinder without matches by using something like a ferro rod. I personally love the Exotac FireROD and simply strike it with the fixed blade knife I have on me.
To ignite a fire using flint and steel, keep in mind that friction is the key. The process involves striking steel against flint to create sparks that ignite tinder. This method requires practice and patience, but it can be a reliable way to start a fire without relying on matches or lighters.

When gathering your materials for starting a fire, including flint and steel in your toolkit will ensure you have options even in challenging conditions like dampness or limited resources.
When I was learning how to use this technique firsthand, it took time and effort to get the hang of producing enough sparks to catch the tinder. Nevertheless, once mastered, it became an invaluable skill for creating fire in various outdoor scenarios where other methods might not work effectively due to adverse conditions or lack of available resources.
Integrating flint and steel into my fire-starting practices has added versatility and resilience to my outdoor skills toolkit.
3. Start a Fire with a Magnifying Glass
Starting a fire with a magnifying glass is easy and effective, but it takes sunlight and the right conditions. Just find the right angle to let sunlight focus on your tinder. Hold it still for about 20-30 seconds, and watch the magic happen.
It’s like using a powerful microscope, but better because it starts fires! This technique is handy if you ever run out of matches or lighters during your outdoor adventures.
When done correctly, starting a fire this way harnesses the sun’s energy. It shows how simple tools can do remarkable things in survival situations. So, have that magnifying glass ready in your survival kit — it might just save the day when other methods won’t work.
That said, this is typically my last resort if I can’t start a fire any other way for some reason.
Tips for Fire Maintenance

To maintain a fire efficiently, manage airflow by positioning larger sticks strategically to allow the right amount of oxygen and add fuel gradually to prevent smothering the flames.
1. Managing Airflow
Managing airflow is crucial for a successful fire. Position the wood in a way that facilitates oxygen reaching the flames, aiding them to burn longer and stronger. Adequate airflow also prevents smoke from accumulating, maintaining clear air around your fire.
Strategically placing kindling and fuel supports efficient airflow. Configuring these materials to allow steady access to oxygen is essential for keeping the fire going. This technique ensures better combustion and reduces the risk of accidents by preventing overheating or flare-ups.
2. Adding Fuel Efficiently
Adding fuel efficiently is critical for maintaining a sustainable fire. Using the right amount of kindling, tinder, and fuel wood is essential to keep the fire burning steadily. I always make sure to layer the components carefully, starting with a solid base of tinder, followed by kindling, and then adding larger pieces of fuel wood as needed.
This method ensures that each component catches fire at the right time, allowing for a smooth and consistent burn.
In my experience, periodic turning of logs can also help maintain an even burn. This simple technique helps distribute the heat evenly throughout the firewood and prevents uneven burning or premature extinguishing.
By paying attention to these details when adding fuel to a fire, I’ve found that it becomes easier to keep the fire going strong without excessive effort or waste.
Safety Tips Around the Fire
When maintaining a fire, always monitor it closely to ensure it stays within the designated area and doesn’t spread unintentionally. It’s crucial to extinguish the fire properly when you’re done — learn more about essential techniques for a safe and enjoyable outdoor experience.
1. Monitoring the Fire
I always keep an eye on the fire to ensure it burns safely and effectively. I rotate logs regularly for even burning, maintaining a steady heat output. This minimizes the risk of embers escaping and helps the fire last longer, keeping me warm throughout the night.
By vigilantly monitoring the fire, I can prevent accidents and ensure maximum efficiency from my campfire. It’s an essential practice that contributes to both safety and comfort in outdoor settings.
2. Extinguishing the Fire Properly and Leave No Trace
When extinguishing a fire, douse water on the coals until they can be safely touched with a bare hand. This is vital to prevent any potential reignition or accidental spread. Always bear in mind to fully put out the fire before leaving your campsite.
It’s a simple yet crucial step in being responsible and ensuring the safety of the environment and future visitors. Avoid causing harm by overlooking this imperative task.
It’s important to emphasize that dousing water should remain the primary method for extinguishing fires since it effectively reduces heat, smothers flames, and prevents potential flare-ups.
Therefore, always ensure that your fire is fully out, leaving no trace behind other than memories of your responsible outdoor experience.
Advanced Techniques on How to Start a Fire
Now, let’s explore the advanced techniques that will help you start a fire even in demanding conditions.
1. Starting a Fire with Wet Wood
Damp wood can be a challenge, but with the right tools and techniques, it’s manageable. InstaFire Fire Starter Pouches are my preference for igniting stubbornly wet materials. These pouches contain a combustible blend that helps dry out and start even moist kindling and firewood.
I’ve also had success using Hurricane-Proof Safety Matches, which can ignite in heavy rain — they also come in handy stormproof cases! It’s like having a dependable fire starter on standby regardless of what nature throws at you.
2. Using Natural Fire Starters like Birch Bark and Pine Needles
When it comes to starting a fire in the wild, utilizing natural materials like birch bark and pine needles can be a game-changer. Birch bark is highly flammable due to its resin content, making it an excellent fire starter even when damp.
Similarly, dry pine needles are incredibly combustible and make great tinder for igniting a flame quickly. These natural fire starters not only simplify the process of starting a small fire but also ensure that you can get your campfire going as long as there are trees around.
Incorporating these natural materials into your fire-starting technique offers benefits beyond convenience — they help conserve precious resources such as matches or lighters in survival situations while positively impacting the environment by reducing waste.
Learning How to Start a Fire Could Save Your Life

Starting a fire is a crucial outdoor skill for preppers and survivalists. I’ve detailed the essential elements of fire building, encompassing the selection of appropriate materials and setups.
Keep safety a priority by carefully overseeing and completely extinguishing the fire. Whether utilizing matches or natural igniters, mastering these techniques will improve your outdoor experience.
As a side note to close out this article, if you want to support our website and are in need of any tactical gear (or any product for that matter), anything you purchase using our links below will provide us with a small commission. We don’t charge for our free content and our goal is to keep it that way. We don’t have a Patreon account to put things behind a paywall, nor do we sell pics of our feet on OnlyFans.
If you choose to use the links below and make a purchase (at no additional cost to you), we greatly appreciate your support as it helps us continue to publish free content (like this article) on our website:
- Optics Planet (use code SAS5 at checkout for 5% off)
- Amazon
We have also partnered with CCW Safe. It’s the concealed carry coverage that I personally have for myself and my family in the event we need to defend our lives. Feel free to use our CCW Safe link to sign up and get some coverage to protect yourself and your family.
Also if you have a product you would like us to check out and potentially review, please contact us and let’s discuss.