Budget Tactical Comms Setup: Building Your Radio Comms Setup
Whether you’re looking to get into airsoft, want to build a budget tactical comms setup for a SHTF scenario, or simply love larping, your ability to use the radio with your electronic hearing protection is a force multiplier.
Are military style Peltor Comtacs and similar electronic ear pro superior to what we are mentioning in this article? Absolutely. But unless you want to drop over $1,000 to use electronic hearing protection with a built-in mic, we have some budget-friendly options on the market to consider.
Many people have experienced the financial challenge of assembling a solid tactical comms setup. That’s why we’ve researched some budget-friendly options, made some purchases to do some testing and evaluating, and this article is what we’ve found.
Our guide demonstrates how to create an effective tactical comms rig without spending thousands of dollars. Our budget tactical comms setup helps you put together a communication setup of the best tactical kit that won’t break the bank.
We’ll show you how to put together a core $120 setup, including the cost of your two-way radio system (handheld radio) and active hearing protection systems. With some ingenuity and knowledge, you can set up a capable system without straining your budget.
Table of contents
Key Takeaways
- You can build a basic budget tactical comms setup for about $120.
- A good starter setup includes a Baofeng radio ($20), a Howard Leight headset ($50), and a push-to-talk device or PTT ($50).
- Choose analog radios for lower cost and compatibility or digital radios for better sound and security.
- Mount your push-to-talk device where you can reach it easily, like on your chest.
- Test your gear before using it in the field, and practice using it under stress.
Understanding the Basics of Tactical Comms
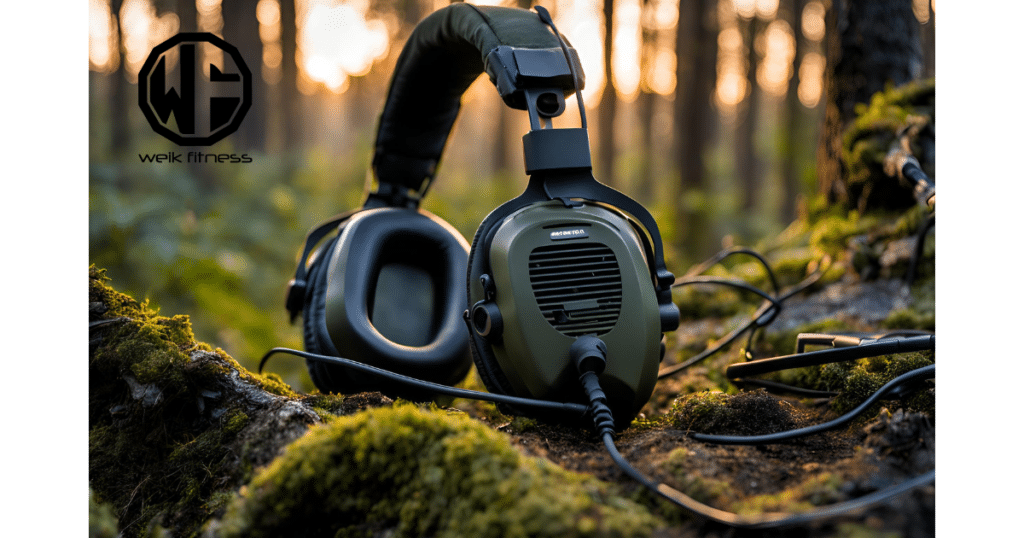
Tactical comms are key for team safety and success. A basic setup needs a radio, headset, and push-to-talk button.
Essential Components: Radio, Comm Headset, and PTT
We’ll cover the key parts of a budget tactical comms setup. These three items form the backbone of any budget-friendly system.
1. Radio
- Baofeng radios are popular, costing around $20
- Choose analog or digital models based on needs (digital are more expensive)
- Look for durability and ease of use in field conditions
2. Headset
- Integrated ear protection is crucial
- Howard Leights offer affordable options at about $50
- Ensure comfort for long-term wear, especially under helmets (ballistic or bump helmets)
3. Push-to-Talk (PTT)
- Connects radio to the headset (may need an adapter)
- Budget-friendly options start at $50
- Placement on chest for quick access
4. Setup costs
- Core setup: Around $120
- Total cost with higher quality radio, ear pro, and PPT will drive up the price
5. Integration tips
- Check compatibility between all components
- Test setup before field use
- Practice using gear under stress
6. Durability matters
- Pick gear that can handle tough conditions
- Balance cost with quality for reliable performance
Types of Radios Used: Analog vs. Digital
Budget tactical comms setups rely on two main radio types: analog and digital. But for most, digital radios wouldn’t really fall under “budget,” in my opinion. But let’s compare their features:
| Feature | Analog Radios | Digital Radios |
|---|---|---|
| Signal Quality | Degrades with distance | Maintains clarity over range |
| Battery Life | Shorter | Longer |
| Security | Basic encryption | Advanced encryption options |
| Cost | Lower initial investment | Higher upfront cost |
| Compatibility | Works with older systems | May not work with analog systems |
Our experience shows analog radios suit basic needs. They’re cheaper and work with existing gear. Digital radios offer clearer sound and better security. They’re ideal for more complex operations. Choose between analog and digital based on your budget and requirements.
Building a Budget-Friendly Tactical Comms Setup
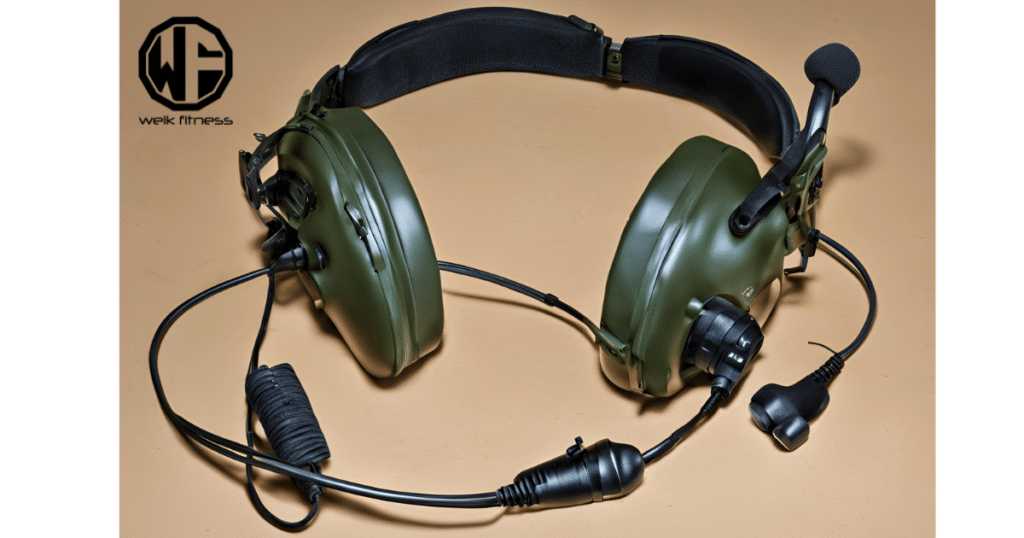
We’ll show you how to build a solid budget tactical comms setup without breaking the bank. Our tips will help you pick the right gear and save money.
1. Choosing an Affordable Radio
We love budget-friendly radios for a tactical comms setup. Baofeng UV-5R is our top pick at just around $20 (lately, it’s been a few bucks under $20). While it’s not waterproof, it does work nicely in non-wet conditions.
If you’re going to be in the rain, the Baofeng UV-9R may work better as it’s waterproof and works great. Another option to consider if your budget allows is the more expensive Yaesu VX-6R.
Our team tested these radios in tough conditions. They held up well and were easy to use under stress. The Baofeng UV-5R has a two-pin Kenwood connector, perfect for most headsets. We found it simple to set up and use in the field.
RELATED: Ham Radio — A Two-Way Radio Can Save Your Life
These affordable radios give us many of the same key features as pricier ones.
2. Selecting Compatible Headsets
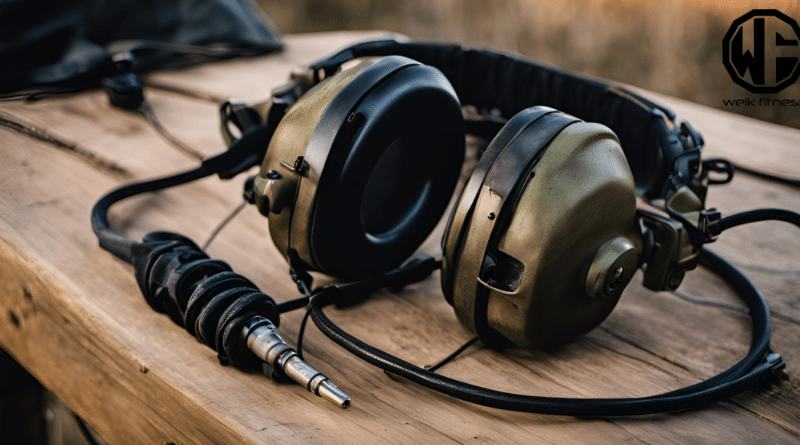
We need good headsets for our budget tactical comms setup. If I were to toss two budget-friendly electronic ear pro out there, they would be the Howard Leight Impact Sport as well as the Walker’s Razors. Many headsets have aux-in jacks to connect radios, which both of these do have.
This lets us hear radio chatter while protecting our ears. It’s important to check if your headsets work with our Push-to-Talk (PTT) device. Both of these electronic hearing protection models will work with a PTT.
That said, if you wanted my true opinion on which to go with, I would recommend the Howard Leight Impact Sport over the Walker’s Razors. The overall quality and sound are much better, in my opinion, and I like the PTT setup with the Howard Leight better.
RELATED: Creating a PACE Plan — Emergency Communications & Contingency
Comfort is key for long use in tough spots. You should pick headsets that feel good for hours. Investing in a pair of gel cups for your ear pro is also recommended for comfort.
3. Finding Cost-Effective PTT Options
Let’s talk about affordable Push-To-Talk (PTT) options for our budget tactical comms setup. PTTs are key for easy radio use. We can find budget-friendly choices that work well with both of the ear pro mentioned above.
For instance, the Howard Leight Impact Sport runs perfectly with the TSVisionCore PTT made specific to the Howard Leight, while the Walker’s Razors work great with the specific TSVisionCore PPT for the Razors.
This price point balances quality and cost, and I find they work well as a budget tactical comms setup.
We like modular systems for comms. They let us upgrade parts over time. This approach saves money in the long run. Amplified PTTs boost mic volume, which helps in noisy spots. Look for PTTs that fit your radio and are tough enough for field use.
With some research (like what we did and are providing you with), we can build a cost-effective tactical comms setup that won’t break the bank.
Integration and Radio Setup
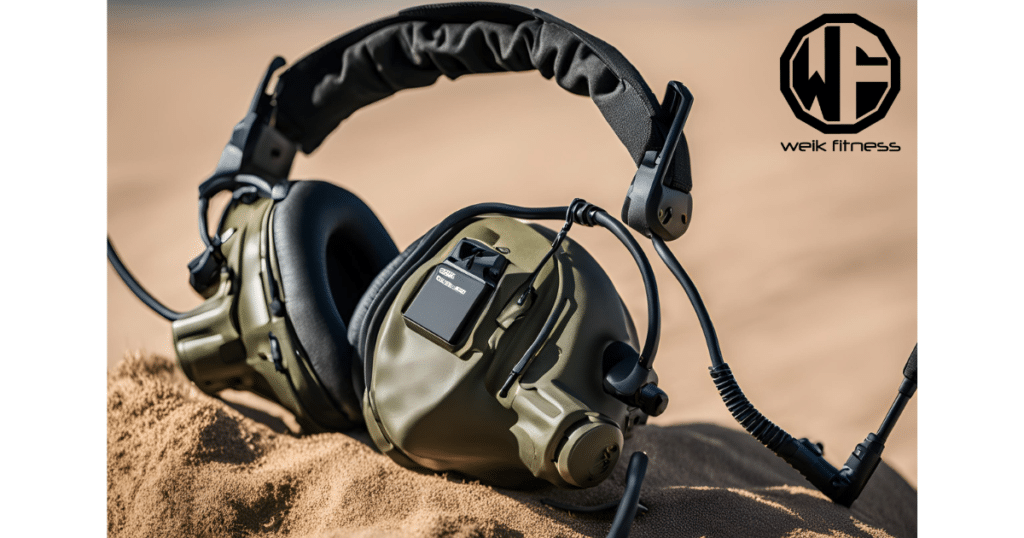
Setting up your budget tactical comms setup and gear is key. We’ll show you how to get your radio, headset, and PTT working together smoothly.
1. Configuring Your Radio for Use
Next, let’s guide you through setting up your radio for “tactical use.” Here’s how to configure your device effectively (but for full details, refer to your product manual):
- Choose the right frequencies: Pick MURS, GMRS, NWR, and some HAM channels.
- Create a comms card: List key channels for quick access in the field.
- Program your radio: Input chosen frequencies and assign them to memory slots.
- Set up privacy codes: Use CTCSS or DCS tones to reduce unwanted chatter.
- Adjust squelch levels: Fine-tune to block background noise without missing signals.
- Configure power settings: Use lower power for short-range to save battery life.
- Set up scan lists: Group important channels for easy monitoring.
- Test your setup: Ensure clear transmission and reception with a partner.
- Label your radio: Mark important buttons and channels for quick use.
- Pack extra batteries: Carry OEM or rechargeable spares for extended use.
2. Ensuring Proper Headset Connectivity and Boom Mic
Proper headset connectivity is key for clear comms. Let’s explore how to set up your headset right:
1. Check compatibility
- Match your radio and headset connectors
- Look for 2.5mm or 3.5mm audio ports on speaker mics
2. Secure connections
- Plug in firmly to avoid loose wires
- Use electrical tape to reinforce weak points
3. Test audio quality
- Listen for clear sound without static
- Adjust volume levels for optimal hearing
4. Position microphone correctly
- Place the mic close to your mouth for clear speech
- Avoid covering it with gear or clothing
5. Protect from elements
- Use waterproof covers in wet conditions
- Keep sand and dirt away from ports
6. Manage cables
- Route wires under clothing to prevent snagging
- Use cable clips to keep wires tidy
7. Double-check push-to-talk (PTT) function
- Ensure the PTT button works smoothly
- Place the PTT where you can reach it easily
8. Consider active hearing protection
- Look for ear pro with aux-in jacks
- Connect radio directly to electronic earmuffs
3. Tips on PTT Installation
We’ve got some great tips for installing your Push-To-Talk (PTT) unit. These will help you set up a solid budget tactical comms setup without breaking the bank.
- Pick the right spot: Mount your PTT where you can reach it fast. The left side of your chest or shoulder works well for most people.
- Check compatibility: Make sure your PTT works with your radio and headset. Not all gear plays nice together.
- Secure it well: Use strong velcro or molle attachments to keep your PTT in place. You don’t want it moving around when you need it most.
- Test before you trust: Try out your PTT setup in different positions before you lock it down. This helps find the sweet spot for easy use.
- Keep wires tidy: Use cable ties or tape to manage your wires. Loose cables can get snagged or unplugged at the worst times.
- Protect from the elements: If you’re using your gear outside, add some waterproofing. A bit of tape or a cover can keep water and dirt out.
- Practice, practice, practice: Get used to your PTT setup before you need it for real. Quick, smooth comms can make a big difference in tight spots.
Practical Considerations for Your Budget Tactical Comms Setup
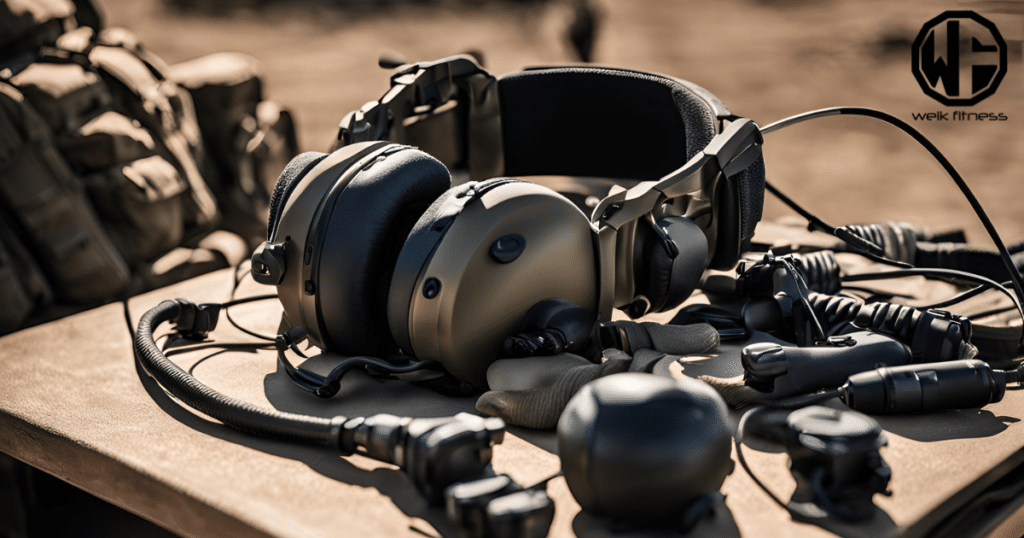
Practical considerations shape your budget tactical comms setup success in the field. Here are some considerations:
1. Durability and Reliability in Field Conditions
We’ve tested our budget tactical comms setup, and it’s good to go. That said, Being that the Baofeng UV-5R is not waterproof, we decided not to chance it by operating it in the rain or snow.
Some radios out there have IP67 ratings. This means they’re dust-tight and can survive a quick dunk in water. You can also consider using strong cases and shock-proof designs.
Our headsets and recommendations have sturdy cables that don’t seem like they will break easily, which is a good thing, considering we’re using a budget tactical comms setup.
It’s important that you always check your gear before heading out. Good cable management keeps wires from tangling. Your setup should also include backup batteries and spare parts (these are not factored into our initial costs but are a worthwhile added investment).
This way, you can stay connected no matter what because the ability to communicate in chaos makes you an asset.
Also, before you head out, do a comms check to ensure you and everyone else are on the same channel or frequency and that all comms and headsets are working properly.
2. Ease of Use Under Stress
Our budget tactical comms setup focuses on ease of use under stress. We’ve designed it for quick, simple operation when you’re under pressure. The push-to-talk device lets you talk fast without fumbling.
Howard Leight Impact Sport headsets fit well and work great. They’re comfy and easy to use, even with sweaty hands.
Our system has been proven reliable for our needs. This builds confidence when things get chaotic. One thing you need to remember is that comparing your budget tactical comms setup against a military-grade or even a higher-end group of products is like comparing apples to oranges. Are both a fruit? Yes. But they are definitely not the same thing.
Build Your Own Budget Tactical Comms Setup for a Backup or Use with a Plate Carrier
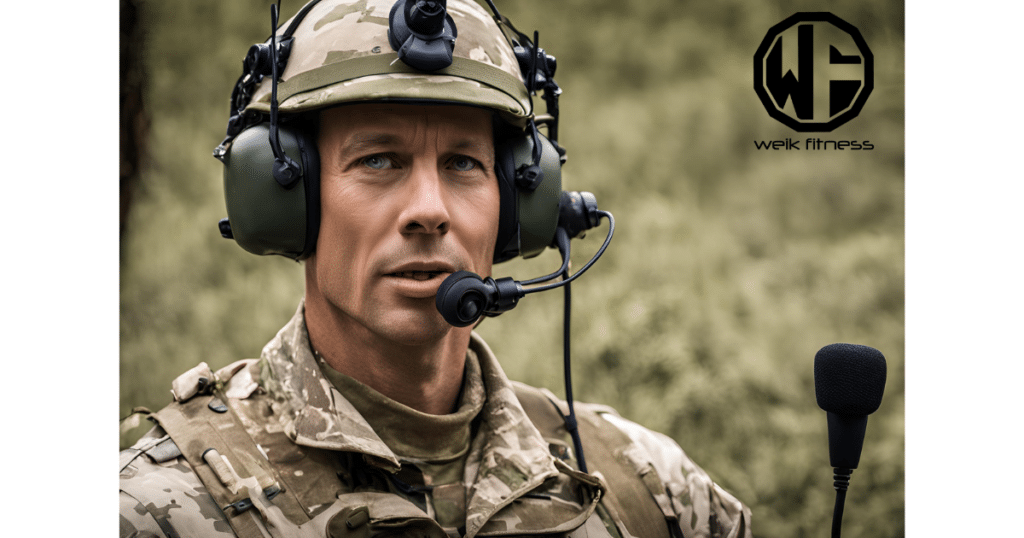
We’ve covered the basics of budget tactical comms. You can build a solid setup for around $120. Start with a cheap radio like a Baofeng. Add a headset and PTT switch that fit your needs.
Get out there and test your gear before you rely on it. With some planning, you’ll have a comms system that works without breaking the bank. Now, you’re ready to stay connected in any situation.
RELATED: Budget Night Vision — The Perfect NVG Setup for Civilian Use
As you get used to your budget tactical comms setup, how to use it effectively, and are ready to drop some coin, then consider upgrading to the Yaesu VX-6R and more expensive PTT and accessories. But until that point, use the heck out of what you put together.
If you want to learn more about comms, check out the Tremis Dynamics Day 0 – Radio Ops class.
As a side note to close out this article, if you want to support our website and are in need of any tactical gear (or any product for that matter), anything you purchase using our links below will provide us with a small commission. We don’t charge for our free content and our goal is to keep it that way. We don’t have a Patreon account to put things behind a paywall, nor do we sell pics of our feet on OnlyFans.
If you choose to use the links below and make a purchase (at no additional cost to you), we greatly appreciate your support as it helps us continue to publish free content (like this article) on our website:
- Optics Planet (use code SAS5 at checkout for 5% off)
- Amazon
We have also partnered with CCW Safe. It’s the concealed carry coverage that I personally have for myself and my family in the event we need to defend our lives. Feel free to use our CCW Safe link to sign up and get some coverage to protect yourself and your family.
Also if you have a product you would like us to check out and potentially review, please contact us and let’s discuss.


